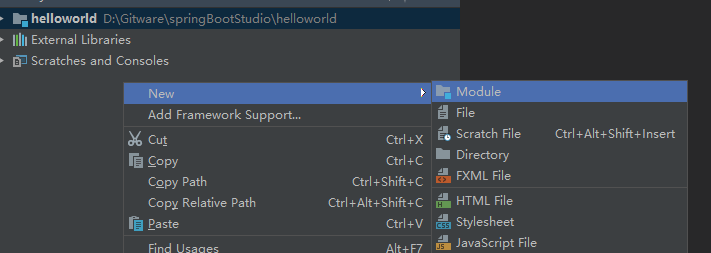
1.在springBootStudio项目中添加Module。

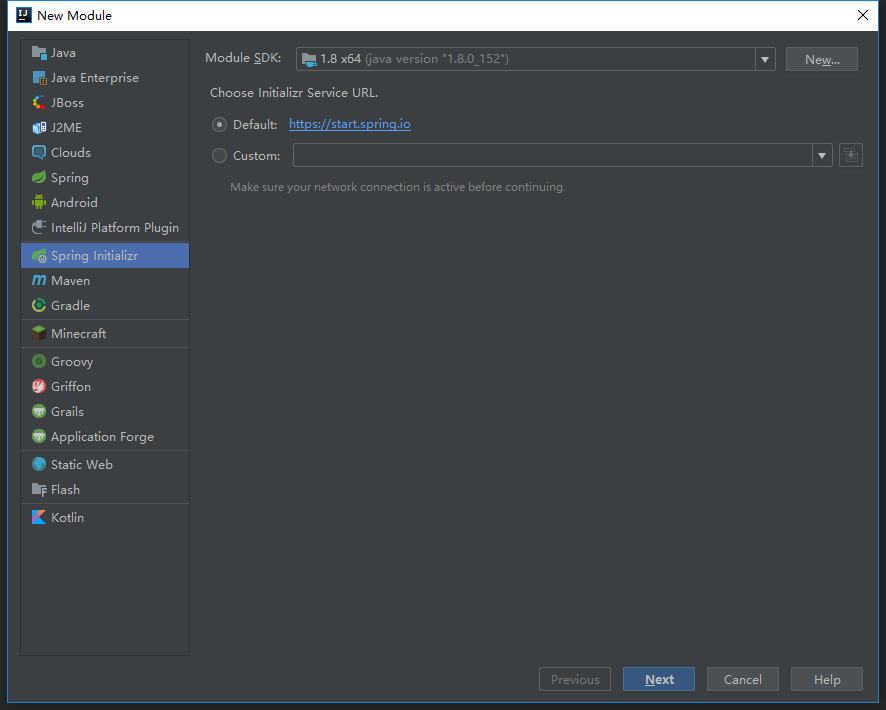
2.选择Spring Initializr,点击next。

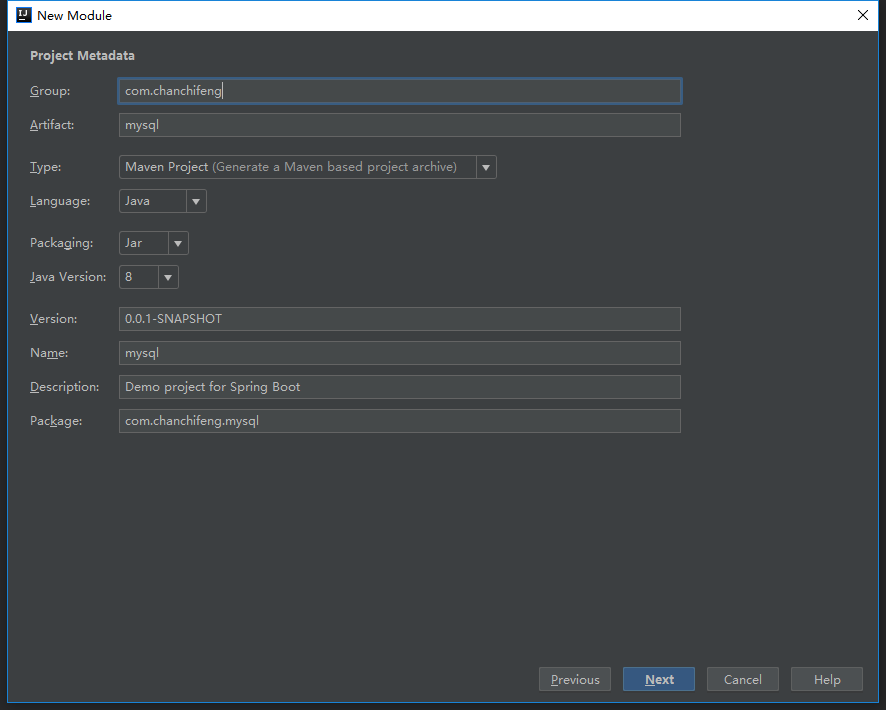
3.Group填写com.chanchifeng,Artifact填写mysql。

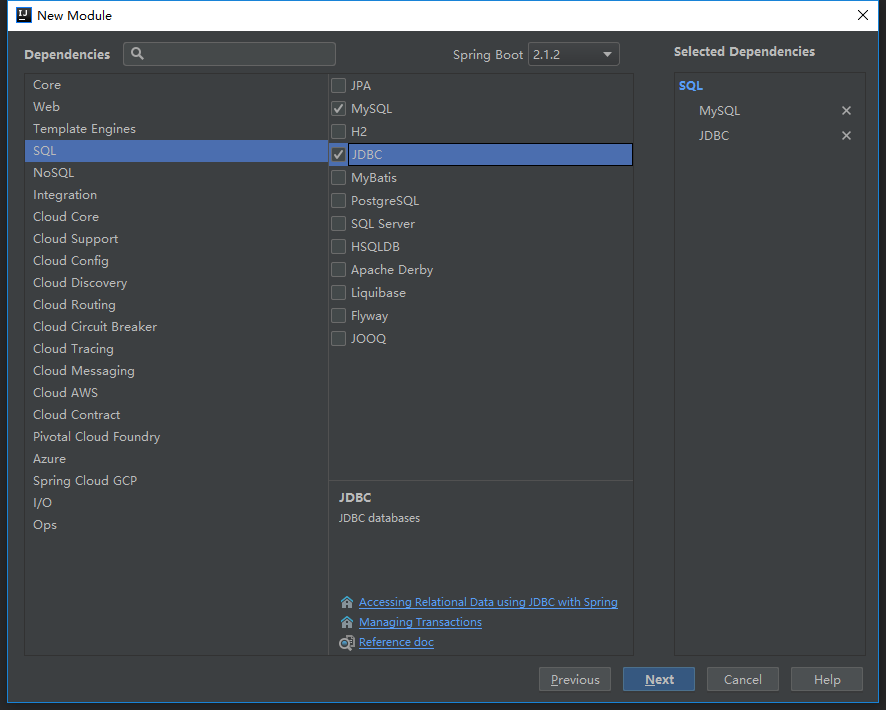
4.勾选SQL中的MySQL和JDBC,点击next。

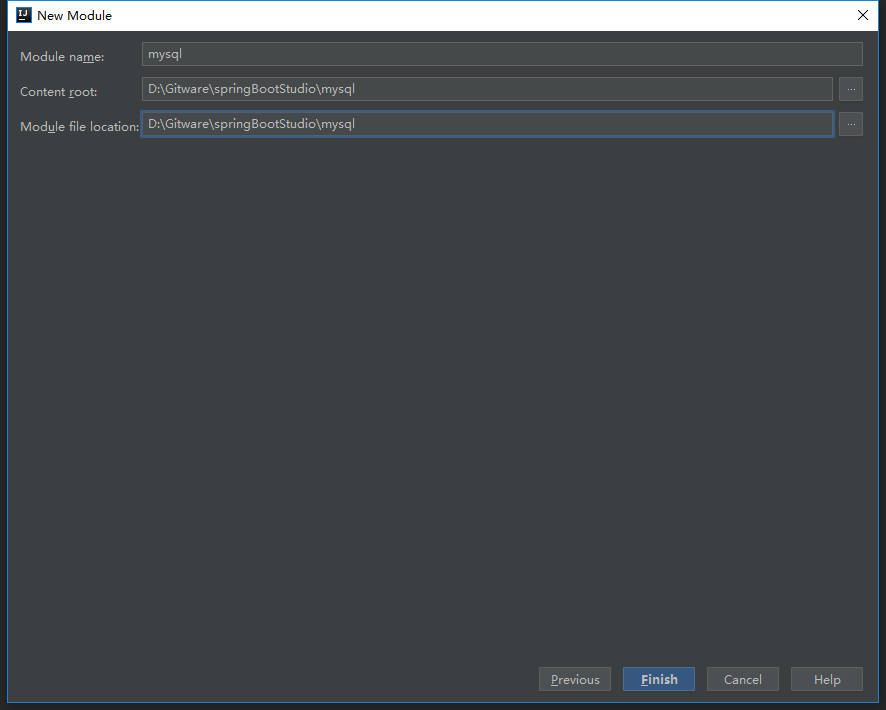
5.Content_root和Module file location选择springBootStudio项目路径。

6.修改pom.xml的MySQL版本号,核心代码如下:

1
2
3
4
5
6
7
8
9
10
11
12
13
14
15
16
17
18
19
20
<dependencies>
<dependency>
<groupId>org.springframework.boot</groupId>
<artifactId>spring-boot-starter-jdbc</artifactId>
</dependency>

<dependency>
<groupId>mysql</groupId>
<artifactId>mysql-connector-java</artifactId>
<version>5.1.46</version>
<scope>runtime</scope>
</dependency>

<dependency>
<groupId>org.springframework.boot</groupId>
<artifactId>spring-boot-starter-test</artifactId>
<scope>test</scope>
</dependency>

</dependencies>

7.在MySQL中创建一张user表。

1
2
3
4
5
6
7
8
9
10
11
12
13
14
15
16
17
18
19
20
21
22
23

SET NAMES utf8mb4;
SET FOREIGN_KEY_CHECKS = 0;

-- ----------------------------
-- Table structure for user
-- ----------------------------
DROP TABLE IF EXISTS `user`;
CREATE TABLE `user` (
`id` int(32) NOT NULL AUTO_INCREMENT COMMENT '主键',
`name` varchar(10) CHARACTER SET utf8 COLLATE utf8_general_ci NULL DEFAULT NULL COMMENT '用户名',
`password` varchar(32) CHARACTER SET utf8 COLLATE utf8_general_ci NULL DEFAULT NULL COMMENT '密码',
PRIMARY KEY (`id`) USING BTREE
) ENGINE = InnoDB AUTO_INCREMENT = 4 CHARACTER SET = utf8 COLLATE = utf8_general_ci ROW_FORMAT = Dynamic;

-- ----------------------------
-- Records of user
-- ----------------------------
INSERT INTO `user` VALUES (1, '李四', 'e10adc3949ba59abbe56e057f20f883e');
INSERT INTO `user` VALUES (2, '张三', 'e10adc3949ba59abbe56e057f20f883e');
INSERT INTO `user` VALUES (3, '阿华', 'e10adc3949ba59abbe56e057f20f883e');

SET FOREIGN_KEY_CHECKS = 1;

8.在application.properties中添加连接MySQL数据库的信息,信息如下:

1
2
3
4
5
6

### MySQL 连接信息
spring.datasource.url = jdbc:mysql://127.0.0.1:3306/test?useSSL=true
spring.datasource.username = root
spring.datasource.password = 1qaz2wsx
spring.datasource.driver-class-name = com.mysql.jdbc.Driver

9.在项目中创建一个model包,在其下创建User的类,代码如下:

1
2
3
4
5
6
7
8
9
10
11
12
13
14
15
16
17
18
19
20
21
22
23
24
25
26
27
28
29
30
31
32
33
34
35
36
37
38
39
40
41

public class User {

private String id;
private String name;
private String password;

public String getId() {
return id;
}

public void setId(String id) {
this.id = id;
}

public String getName() {
return name;
}

public void setName(String name) {
this.name = name;
}

public String getPassword() {
return password;
}

public void setPassword(String password) {
this.password = password;
}

@Override
public String toString() {
return "AyUser{" +
"id='" + id + '\'' +
", name='" + name + '\'' +
", password='" + password + '\'' +
'}';
}

}

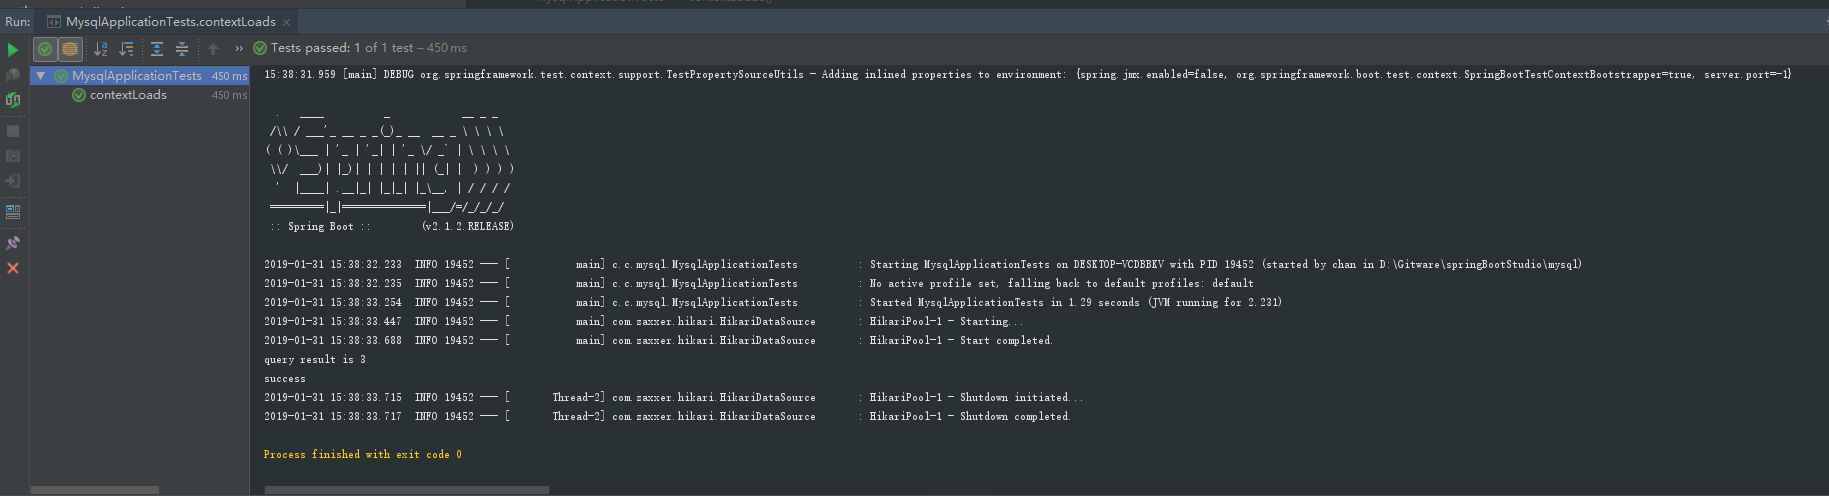
10.为com.chanchifeng.mysql.MysqlApplicationTests测试类,测试MySQL是否连接成功,核心代码如下:

1
2
3
4
5
6
7
8
9
10
11
12
13
14
15
16
17
18
19
20
21
22
23
24
25
26
27
28
29
30
31
32
33
34
35
36
37

@RunWith(SpringRunner.class)
@SpringBootTest
public class MysqlApplicationTests {

@Autowired
private JdbcTemplate jdbcTemplate;

@Test
public void contextLoads() {
List<Map<String, Object>> result = jdbcTemplate.queryForList("SELECT * FROM user");
System.out.println("query result is " + result.size());
System.out.println("success");
}

@Test
public void testMysqlForUpdate(){
jdbcTemplate.execute("update user set name='porschan99' where id = 2");
System.out.println("suc ");
}

@Test
public void mySqlTest(){
String s = "SELECT * FROM user";
List<User> userList = jdbcTemplate.query(s, (tempUser, i) -> {
User user = new User();
user.setId(tempUser.getString("id"));
user.setName(tempUser.getString("name"));
user.setPassword(tempUser.getString("password"));
return user;
});
for (User user : userList) {
System.out.println(user.toString());
}
}

}

11.可以测试contextLoads、testMysqlForUpdate和mySqlTest,其中可以测试contextLoads测试类的输出结果如下: