1.在springBootStudio项目中添加Module。

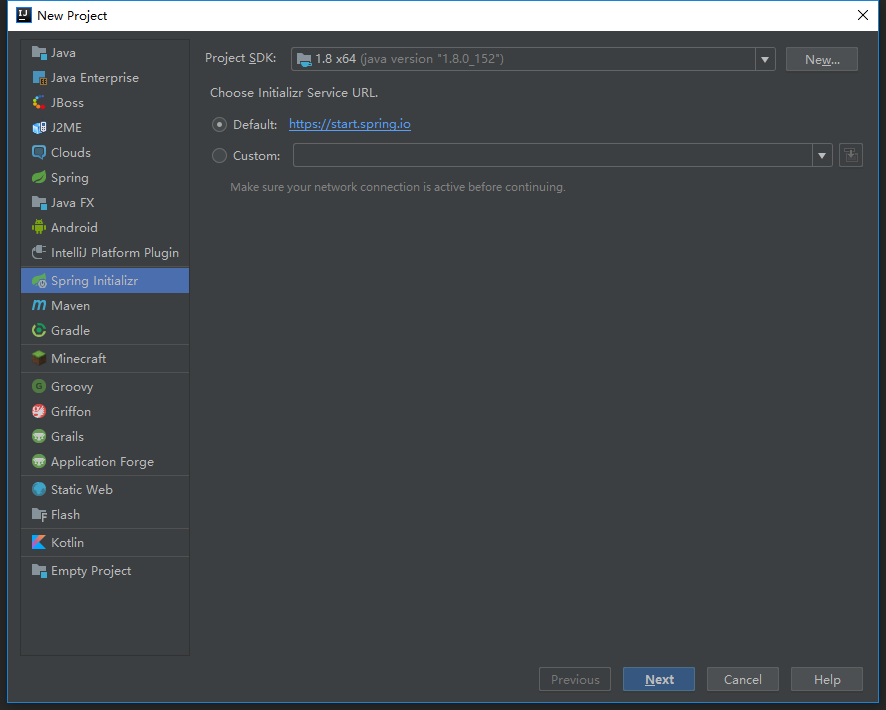
2.选择Spring Initializr,点击next。

3.Group填写com.chanchifeng,Artifact填写thymeleaf。

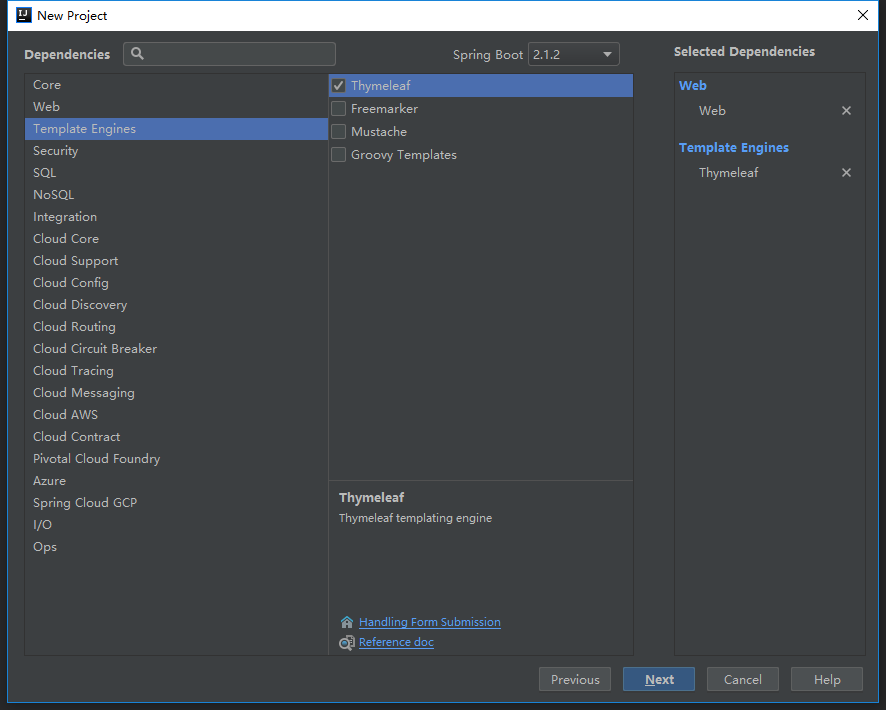
4.勾选SQL中的Web和Thymeleaf,点击next。

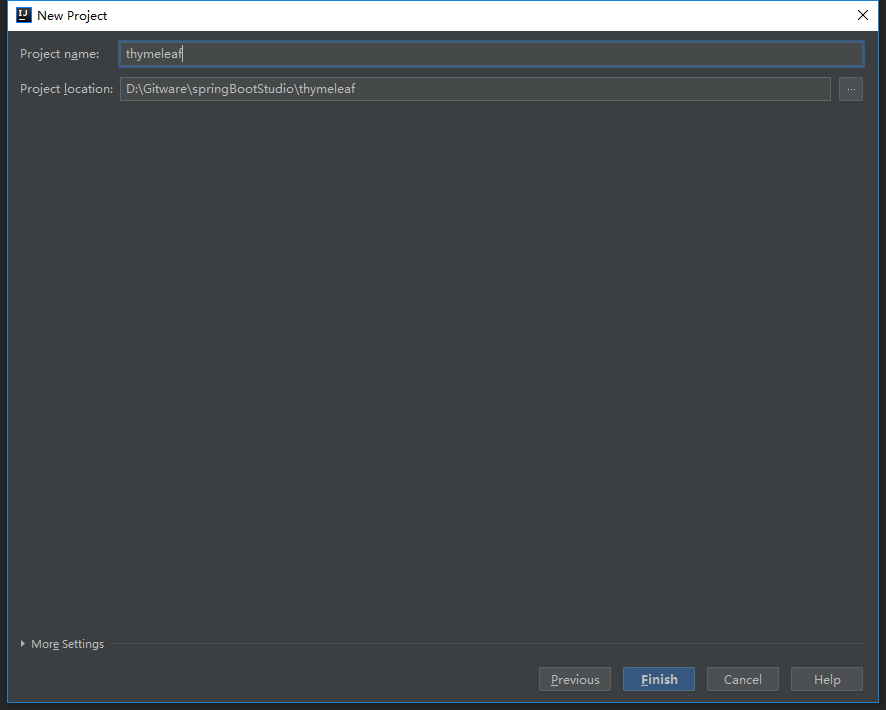
5.Content_root和Module file location选择springBootStudio项目路径。

6.在项目中创建一个controller包,在其下创建PageController的类,代码如下:

1
2
3
4
5
6
7
8
9
10
11
12
13
14
15
16
17
18
19
20
21

@Controller
public class PageController {

/**
* 跳转到注册 成功页面
*
* @return
*/
@RequestMapping(value = "home")
public String success(Map<String, Object> paramMap) {

/** 默认Map的内容会放到请求域中,页面可以直接取值*/
paramMap.put("name", "porschan");
paramMap.put("age", 24);

/** 会自动跳转到默认的 classpath:/templates/success.html 页面*/
return "home";
}

}

7.在项目中的templates创建一个home的html页面,代码如下:

1
2
3
4
5
6
7
8
9
10
11
12

<!DOCTYPE html>
<html lang="en" xmlns:th="http://www.thymeleaf.org">
<head>
<meta charset="UTF-8">
<title>Demo</title>
</head>
<body>
姓名:<span th:text="${name}"></span><br>
年龄:<span th:text="${age}"></span>
</body>
</html>

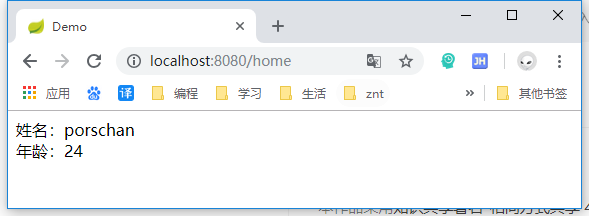
8.运行ThymeleafApplication.main,在浏览器中访问http://localhost:8080/home,即可实现一个简单的thymeleaf的Demo,更多的使用方法请参考官方文档(https://www.thymeleaf.org/)。


参考蚩尤后裔的《Spring Boot 引入 Thymeleaf 及入门》https://blog.csdn.net/wangmx1993328/article/details/81053723