1.在springBootStudio项目中添加Module。
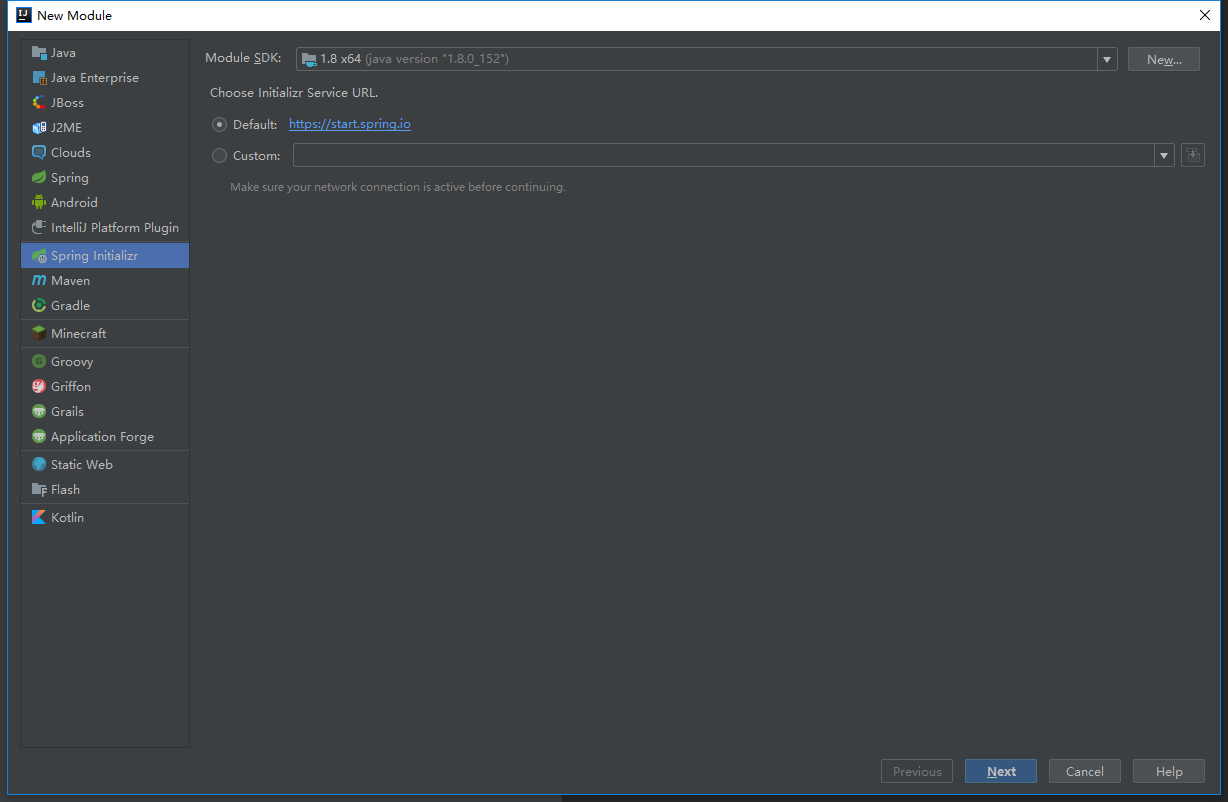
2.选择Spring Initializr,点击next。
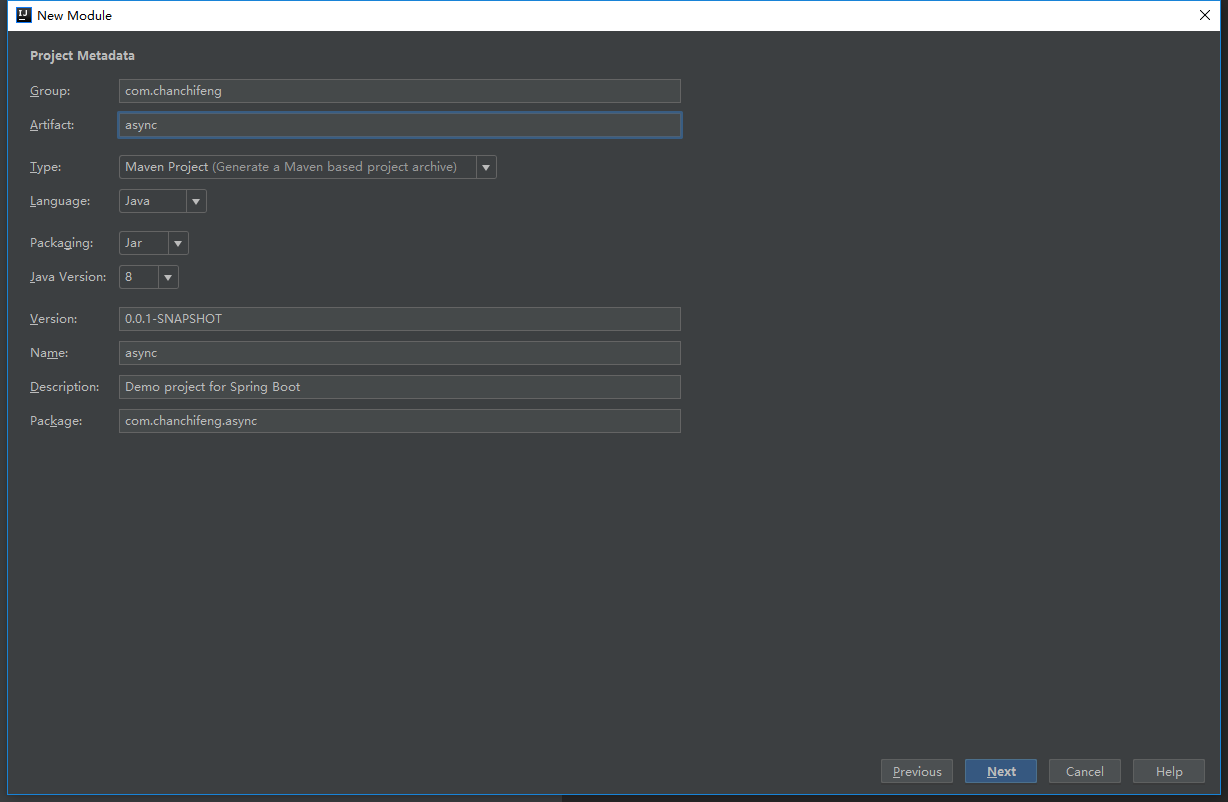
3.Group填写com.chanchifeng,Artifact填写async。
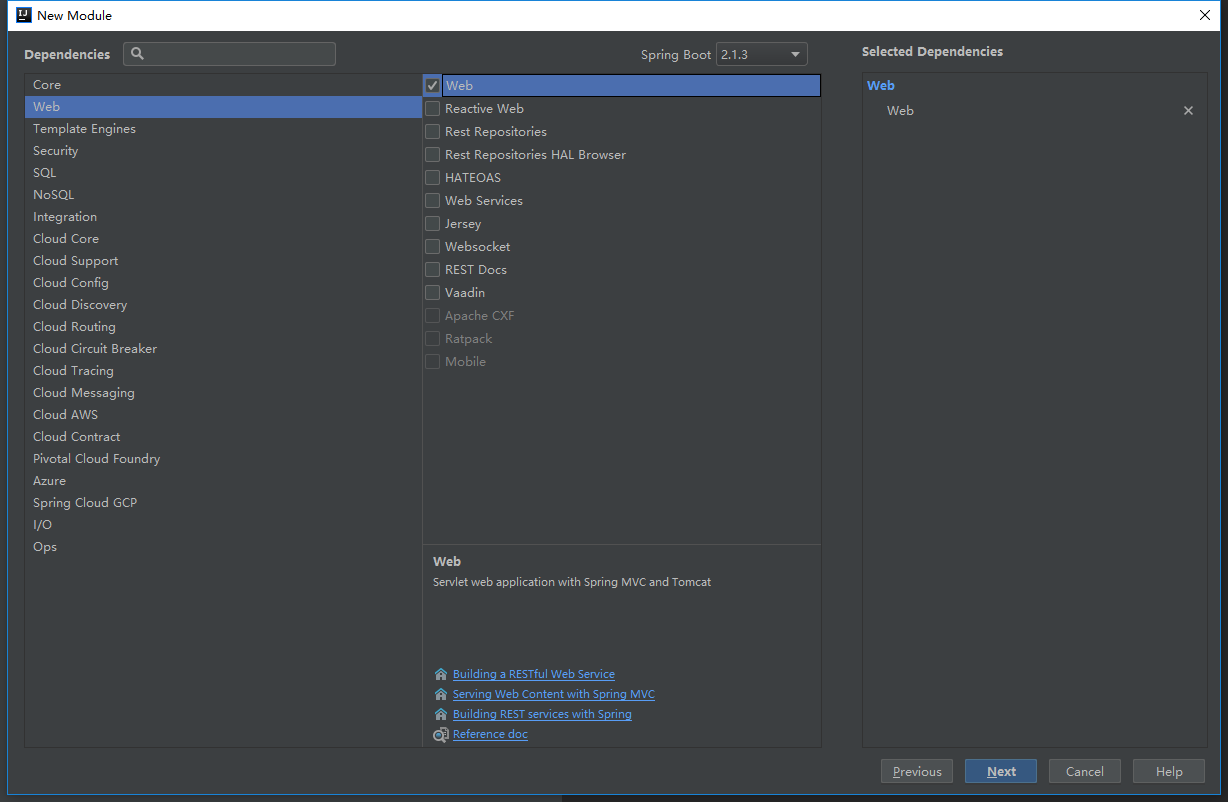
4.勾选SQL中的Web,点击next。
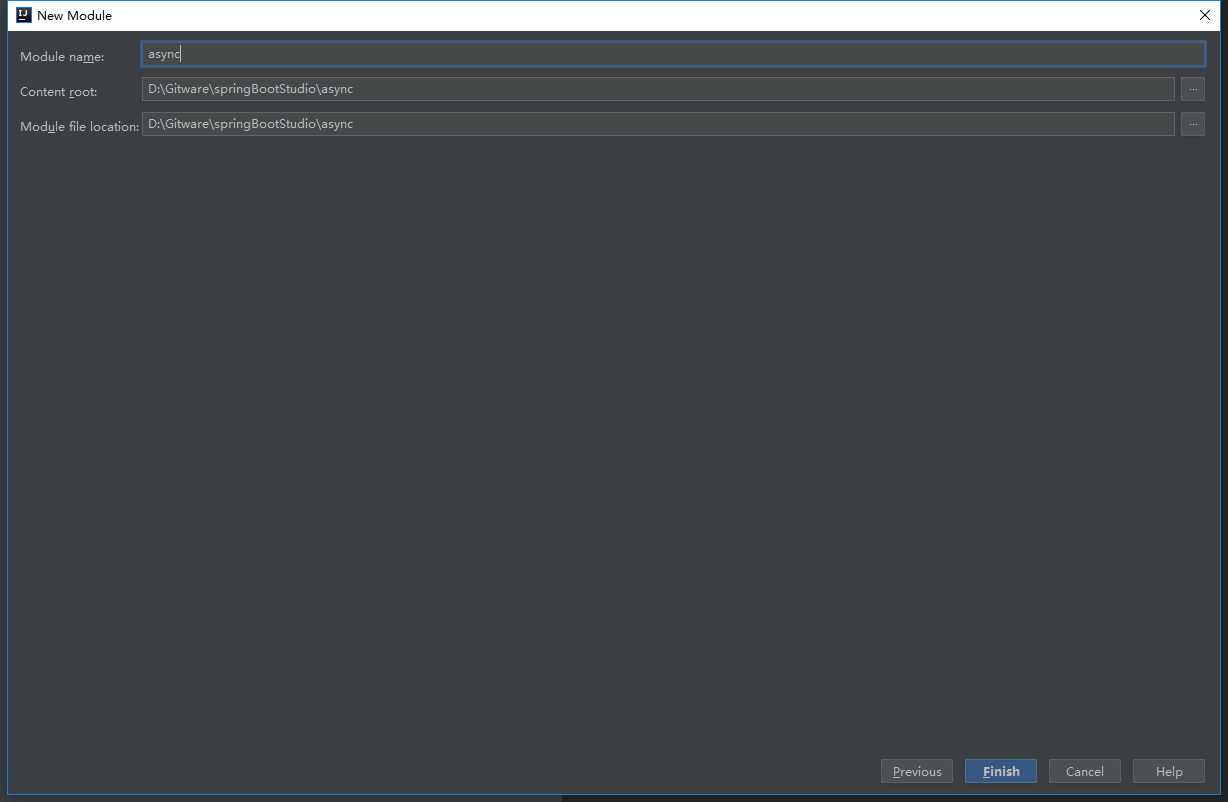
5.Content_root和Module file location选择springBootStudio项目路径。
6.在项目中创建service.impl包,在其下创建UserServiceImpl类,代码如下:
1 | @Service |
7.在项目中创建service包,在其下创建UserService类,代码如下:
1 | public interface UserService { |
8.需要再入口类添加注解@EnableAsync开启异步调用,代码如下:
1 | @EnableAsync |
9.编写测试用例,代码如下:
1 | @RunWith(SpringRunner.class) |
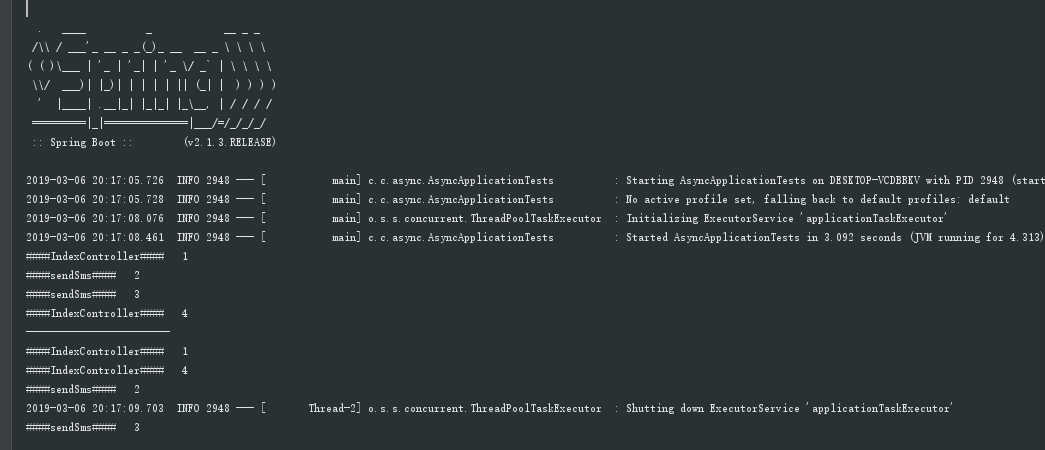
10.运行时的结果,如下图: